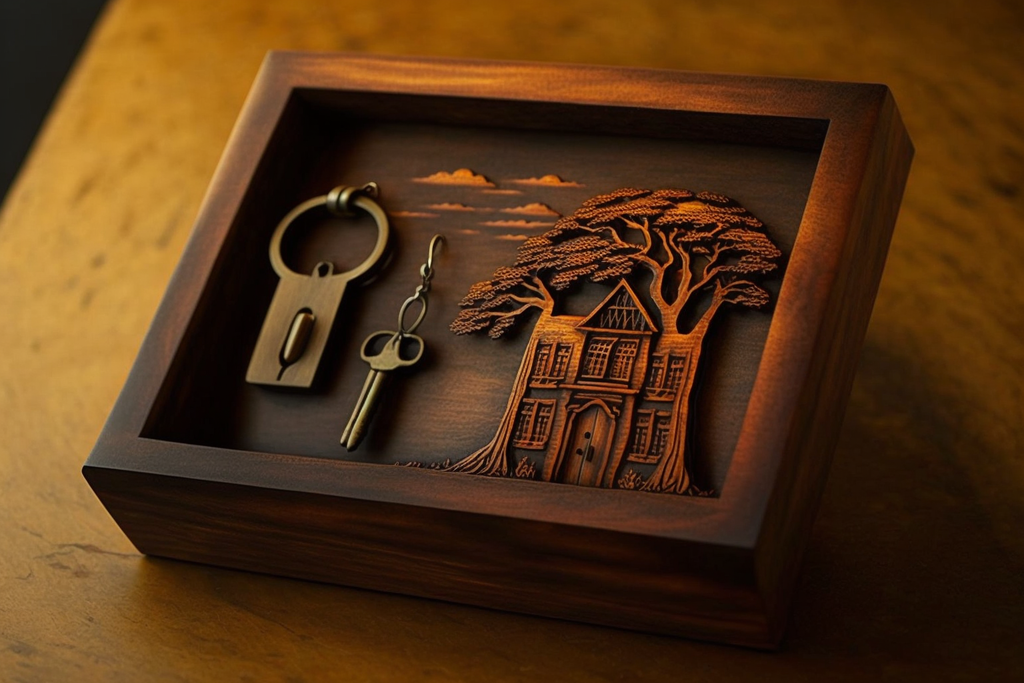
Craft Your Own Farmhouse or Coastal Wooden Key Holder
Tired of losing your keys in the abyss of your entryway? Elevate your home decor and banish those missing keys with a charming DIY wooden key holder. Whether you lean towards the rustic charm of farmhouse style or the breezy appeal of coastal living, this project lets you create a personalized piece that speaks to your aesthetic.
Gather Your Supplies
Before you embark on this creative journey, gather your essential tools and materials:
- A piece of wood (consider reclaimed wood for a farmhouse vibe or driftwood for a coastal touch)
- Sandpaper (various grits for smoothing)
- Wood stain or paint (choose colors that complement your desired style)
- Paintbrushes or a staining cloth
- Hooks (metal, ceramic, or wooden, depending on your style)
- Screws or nails
- Drill (optional, for pre-drilling holes)
- Measuring tape
- Pencil
- Optional embellishments: rope, seashells, farmhouse-style hardware, etc.
Embracing the Farmhouse Aesthetic
To infuse your key holder with farmhouse charm, opt for reclaimed wood with rustic knots and grain patterns. Stain the wood in warm tones like brown, gray, or whitewash to enhance its natural beauty. Consider adding metal hooks with a distressed finish for a vintage touch. Embellishment ideas include adding a burlap banner with a welcome message, miniature mason jars for holding keys, or even a small chalkboard to jot down important reminders. Remember, farmhouse style embraces imperfection and simplicity, so don't be afraid to let your natural wood grain shine through.
Step-by-Step Guide for a Farmhouse Key Holder
- Sand your piece of reclaimed wood to create a smooth surface.
- Apply a wood stain in a warm tone like brown or gray. Allow the stain to dry completely.
- Measure and mark the locations for your hooks. Pre-drill holes if necessary to prevent wood splitting.
- Secure the hooks to the wood using screws or nails.
- Optionally, add embellishments like a burlap banner or small mason jars.
Capturing Coastal Chic
For a coastal key holder, driftwood is the star of the show. Its weathered texture and light colors evoke the seaside atmosphere. Embrace the natural irregularities of the wood, leaving some knots and rough edges visible. Opt for light blue, white, or sandy hues for painting or staining. Use ceramic hooks or rope for a nautical touch, and consider embellishments like seashells, starfish, or even a miniature anchor. Let your coastal spirit guide your creative choices, and don't hesitate to incorporate beach-inspired accents.
Step-by-Step Guide for a Coastal Key Holder
- Sand your piece of driftwood to create a smooth surface, preserving some natural roughness for character.
- Paint or stain the wood in light blue, white, or sandy hues. Let it dry thoroughly.
- Measure and mark the locations for your hooks. Pre-drill holes if necessary.
- Secure the hooks to the wood using screws or nails.
- Decorate with coastal embellishments like seashells, starfish, or nautical rope.
Final Touches: Adding a Personal Touch
Whether you choose farmhouse or coastal style, don't forget to add a personalized touch. Consider adding a monogram or a family name to make the piece truly unique. A touch of rustic twine or a decorative inscription adds a personal element that speaks to your individual style.
Your DIY wooden key holder is ready to welcome you home! Enjoy the satisfaction of creating a functional and stylish piece that reflects your personality and taste.
0 comments:
Post a Comment
Note: Only a member of this blog may post a comment.